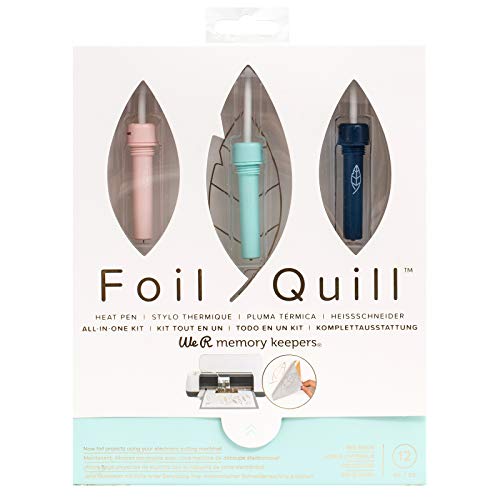
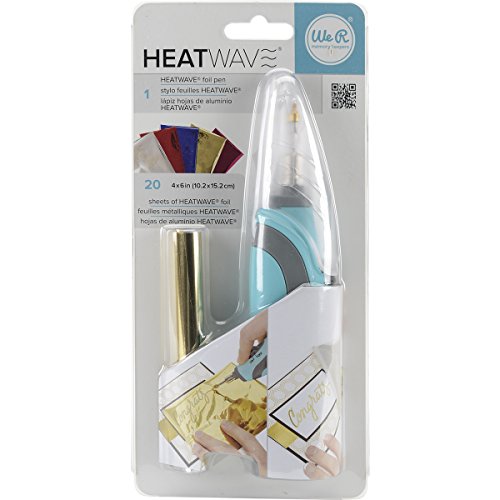
Hot Foil Pen an Amazing new product, apply Foil to paper, Card, wood and leather using this great new heat Pen and it
is so easy to use. It is a concentrated heat source. Using the foils enclosed, you overlay them on an object and transfer the foil
to the object using this heat pen. With the pen you also get a starter pack of mixture gold laser foil.
I have choose the best Foil Pen to save your time!
| Magic Hot Foil Pen Reviews | ||||||
|---|---|---|---|---|---|---|
| Image | Brand | Features | Price | |||
    | We R Memory Keepers Foil Quill Starter Kit, Value Set Includes Over 12 Items. |
| ||||
Antex R6L82TW00 Foil Master Craft Kit, BP 5W/10W, Blue/White |
| |||||
    |
| |||||
Instructions – How to use Hot Foil Pen
Method 1
1. Print off two copies of the designs and paper you wish to enhance using the hot foil pen.
2. Place the two copies on top of each other and tape at the top to secure.
3. Place the coloured foils between the two sheets of paper. (To create an embossed effect reverse the foil and the paper, this method is more effective when using a transparent paper such as vellum.)
4. Switch on the pen by pressing the button on the side of the pen, watch to see the red light come on, wait a few seconds for the pen to heat up, then it is ready to use.
5. Using the top copy of the paper as a guide press and trace carefully over the areas of the graphics you wish to decorate.
6. Reveal the finished effect by lifting the top copy of paper and removing the foil..
Method 2
1. You can use a stencil or punch hole design as a guide to create glittery objects.
2. Place a stencil or punch hole over the foil, press and fill using the hot foil pen.
3. Lift off the stencil to reveal the shape, very simple and effective.
