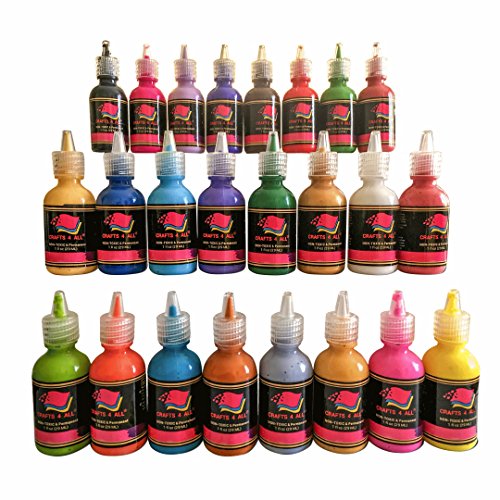
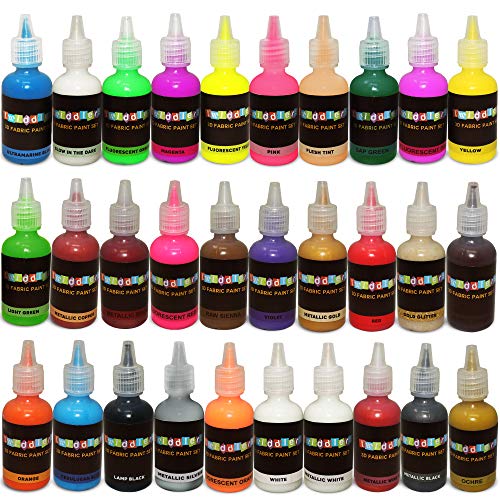
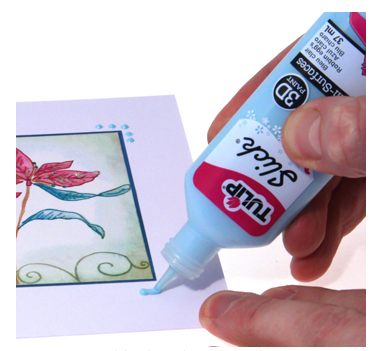
Fabric paints are fun and easy to use. The squeezy bottles come in lots of colours and are a great way to brighten up clothes, accessories and home furnishings. You can use them to draw funky designs on wellies, make your own message T-shirts – even draw designs on bedding and curtains to create your own coordinating range. They’re safe for children, and can be used for all kinds of kids crafts.
Here is the list of amazing fabric paint that we choose for you!
| Fabric Paint – The Easy Way to Customise Clothes and More Reviews | ||||||
|---|---|---|---|---|---|---|
| Image | Brand | Features | Price | |||
    |
| |||||
    |
| |||||
    |
| |||||
    |
| |||||
    |
| |||||
    |
| |||||
    | Artcraft Premium Bright Fabric Paints 6 x 60ml Different Colours Available |
| ||||
I Love To Create Tulip Fabric Spray Paint Mini Pack .81 Oz 7 kg-Neon |
| |||||
The paints can be used on lots of different materials besides fabrics, including paper, wood, glass, metal and ceramics, making them suitable for a range of interior design projects – decorating mirrors, photo frames, dinner plates and lots more.
Above all, fabric paints are great fun. So if you’d like to have a go at rejuvenating old clothes and furnishings, or designing your own unique new ones, here’s our easy step-by-step guide.
What you’ll need:
- Your item for painting
- Fabric paints in your chosen colours and finishes
- Pencil and paper to plan your design
- If painting clothes – some thick card (eg a shirtboard), plastic or a few sheets of newspaper to put inside.
Before you start:
Sketch your design on paper, and choose the colours and finishes you want to use. Slick paints dry with a nail varnish sheen, glitter paints are best for a sparkly finish, and glow in the dark give a luminous glow when the lights go down.
Next you need to prepare your surface. If it’s fabric, prewash it with a small amount of your usual detergent, but it’s very important you don’t use fabric softener. Let it dry, then iron to get rid of any wrinkles that might distort your design. If you’re painting a non-fabric surface, make sure it’s clean and dry.
Now you’re ready to paint.
Applying the paint:
1. If painting an item of clothing, put your card, paper or plastic inside to stop any paint seeping through. Make sure you’re on a flat, level surface and your sketched design is to hand so you can refer to it. For even more accuracy, you can use a pencil to sketch the design directly onto your chosen surface before painting over it.
2. Holding the bottle like a pencil so you can move it easily, place the applicator tip directly onto your surface and squeeze gently as you move.

Top tip:
On fabric, your painted design will need ‘flex points’ to make it strong and ensure it bends rather than breaks. Instead of drawing long continuous lines, draw in 3-4 inch lines at a time, pick up the tip and start again by placing the tip just past the end of your first line. Repeat until your line is long enough.
For a raised design, hold the bottle at an angle, allowing paint to flow more freely. For flat line work, hold the bottle upright, which allows less paint to escape. If you make a mistake, use a little rubbing alcohol or wet wipes containing alcohol to remove the paint.
3. Leave to dry for 24 hours and your design is done! Allow 72 hours before washing painted clothes.
Some Design Effects:
Adding embellishments
To add more interest, you can even set gems, buttons and sequins into the paint. Place them on top of the paint while wet, gently tap them in to set, then lay flat to dry.
Using stencils
Place chosen stencil on your surface, taping it into place with masking tape. Mix equal quantities of paint and water so you get an ink consistency, and use a brush to apply inside the stencil.
Paper printing
If you find a design you like in a book, place some blank paper over it and trace it in pencil. Choose a fabric paint and apply it to the lines of your traced image. Now carefully position it, paint side down, on your chosen surface and gently press down to transfer the paint.
