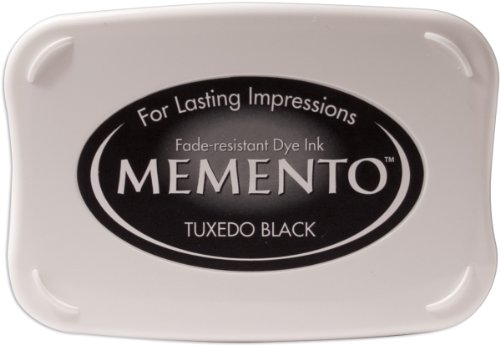
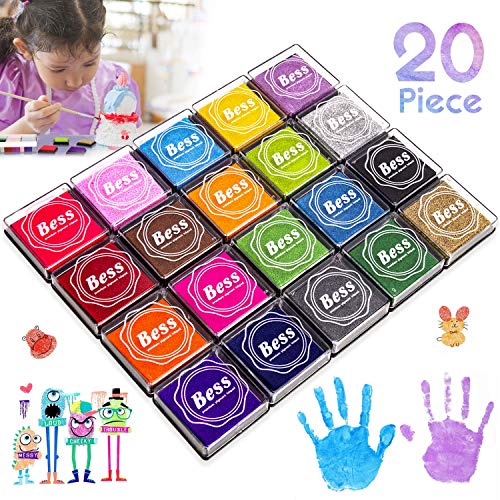
There are a bewildering number of choices when it comes to ink pads for rubber stamping. Different effects, different ink types, different colours, different drying times, different sizes – how do you choose the right one? Below we will answer your most common questions to help you choose the perfect ink for your next project…
- What do I need to colour in a stamp, so it looks like the picture on the front?
- Do I need a bigger ink pad for bigger stamps?
- Which inks are best for Heat Embossing?
We have the list of the Ink Pad to save you time.
| Best Ink Pad Reviews | ||||||
|---|---|---|---|---|---|---|
| Image | Brand | Features | Price | |||
   |
| |||||
5 Star Stamp Pad 110x70mm Black 5 Star Stamp Pad 110x70mm Black |
| |||||
| ||||||
    |
| |||||
    |
| |||||
    |
| |||||
    |
| |||||
What do I need to colour in a stamp, so it looks like the picture on the front?
To create this kind of look, you will normally need to colour in the design using water based paints. You can use watercolours, watercolour pencils, or our personal favourite, embossing pens.
Since the colouring will be done with a water based ink, it is critical that the outline of the design, that is stamped onto your card, is done with a waterproof ink.
Handy Tip: To get the best results from the embossing pens, scribble a small amount of ink from the pen onto a non-porous surface, such as an acrylic block (an old plate, or a sheet of plastic will work well also). Next, wet a small paintbrush and mix it with the ink on the block before testing on a scrap of card. Add more ink to produce a brighter more vivid result, or more water for a softer lighter shade.
Do I need a bigger ink pad for bigger stamps?
No is the simple answer.
The ideal way of applying ink to a rubber stamp is to place the rubber stamp on the table, with the rubber side facing up, and then take the ink pad to the stamp, dabbing it around to cover the entire design, even if the stamp is much bigger than the ink pad you are using. The advantage is that you can see what you are doing as you apply the ink. As a result of this, most people prefer to buy the small ink pads, such as the Dew Drop and Cube style ink pads. The main benefits are:-
- Price – smaller ink pads are cheaper.
- Storage – smaller ink pads take up less space.
- Colours – As they are cheaper and take up less space, you can afford to get a much better selection of colours.
- Multi-Colour – The small pads can be used to ink up only part of the design, so you could, for example, use a green ink for a flower stem and a red ink for the flower head on a rubber stamp.
So why get the larger ones? The main advantages of the larger pads are:-
- You get more ink in each pad, so they last much longer.
- They are easier to handle – some people can find the smaller ones awkward to hold.
- It is easier to achieve some effects, such as applying ink directly onto paper from the ink pad, with a larger pad.
Which inks are best for Heat Embossing?
Heat Embossing involves sprinkling embossing powders over a design, and heating it to melt the powder. Once it has cooled down again you are left with a really impressive “raised ink” effect that you can feel. It gives your cards a really high quality tactile feel to them.
The simplest way to achieve this effect is to stamp using a slow drying sticky ink. This allows you enough time to stamp the design onto card and sprinkle the embossing powder over the wet ink so that it sticks to it. With the powder stuck to the ink, and all the excess powder shaken off and returned to the pot, you can heat up your design with a Heat Gun to create the finished effect.
Some embossing powders are semi-transparent, such as Stardust, so you can see the colour of the ink or card underneath them. These types of powders give you a lot of creative choice as there is a huge range of effects you can create by combining different coloured ink with the embossing powder. Experimentation is recommended here, as it is fun to find all the cool finishes you can create.

